- On the CA server go to server manager.
- Add roles.
- Select roles to install:
- Active directory Certificate Services.
- File services.
- Web server IIS.
- Next.
- On introduction to active directory … window click next.
- On select role services window choose:
- Certification authority.
- Certification authority web enrollment.
- Next.
- For setup type choose standalone.
- For CA type choose root CA.
- For private key choose create a new private key.
- For cryptography Configure RSA 2048 Cryptography for CA (Default).
- For CA name type company-CA or whatever you like.
- Set validity period for the CA certificate in years.
- For Configure certificate database – leave the default.
- For select role services leave Default and click next.
- Install.
- If you want to increase the validity of the certificates that the CA produces:
- Regedit>local_machine>system>CurrentControlSet>Services>certSvc>configuration>CA_Server_Name.
- Change the ValidityPeriodUnits Value Data to the numbers of years you want.
Monthly Archives: March 2014
Set Windows Time Service
By default, Windows-based computers use the following hierarchy:
- All client desktop computers nominate the authenticating domain controller as their in-bound time partner.
- All member servers follow the same process that client desktop computers follow.
- All domain controllers in a domain nominate the primary domain controller (PDC) operations master as their in-bound time partner.
- All PDC operations masters follow the hierarchy of domains in the selection of their in-bound time partner.
We can set windows time service to sync with External Source.
External source can be NTP server in the word or a domain member.
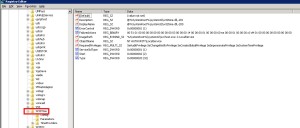
To set windows time service to sync with NTP server in the word:
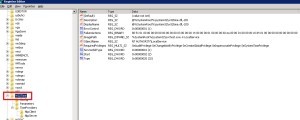
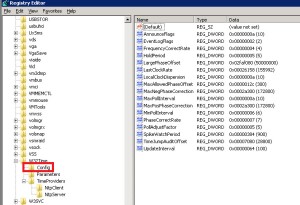
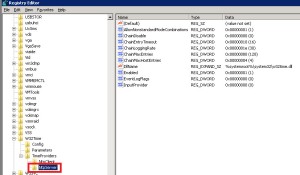
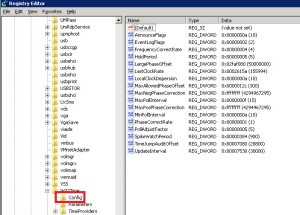
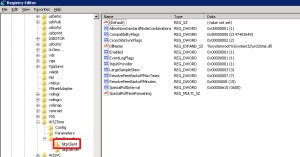
- To set windows servers registry for non-domain server or PDC:
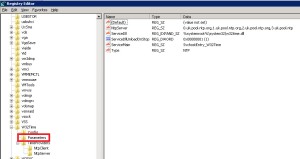
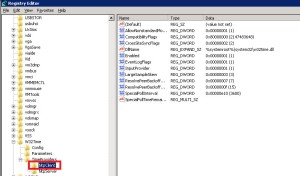
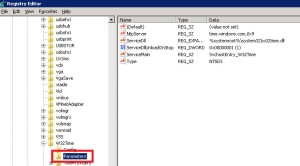
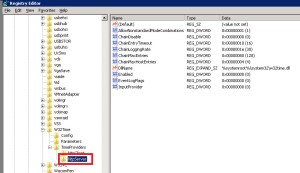
- To set windows servers registry for domain member:
- Useful commands:
- w32tm /query /source – display the time source.
- w32tm /config /update – causing the configuration changes to take effect.
- net stop w32time – stop the time service.
- net start w32time – start the time service.
- w32tm /stripchart /computer: uk.pool.ntp.org – view offset chart VS specific source (in this case Vs uk.pool.ntp.org).
sources:
http://support.microsoft.com/kb/816042
http://support.microsoft.com/kb/223184
http://technet.microsoft.com/en–us/library/cc773263(WS.10).aspx#w2k3tr_times_tools_dyax
http://technet.microsoft.com/en-us/library/cc773013(WS.10).aspx
How To Create And Install A Server Certificate From A Stand Alone CA
- Open IIS manager
- Click on the server name
- Double click Server Certificates
- On the action panel click create certificate request
- On the request certificate window:
- Enter common name which can be *company.com.
- Enter organization which is the company name.
- Enter OU like “IT”.
- Enter city location.
- Enter state.
- Enter country like US or IL (only 2 letters).
- On the cryptographic windows leave the defaults which is Microsoft RSA… and 1024 bit length.
- On the file name window enter the file name for the “request cert” file and save it.
- Click finish.
- Go to the CA server.
- Go the CA role.
- Right click the CA server.
- Choose all tasks.
- Submit request.
- Choose and open the request file that you created before – “wildcard-request.txt”
- Now you will find the request pending on the CA server.
- Right click the pending certificate.
- Choose all tasks.
- Choose issue.
- After issuing the certificate you will see it under issued certificates.
- Right click on the issued certificate.
- Choose all tasks.
- Choose export binary data.
- On the export binary data window mark save binary data to file.
- Set a file name .cer and location for the binary file.
- This is how the exported certificate look like:
- Open IIS manager.
- Click on the server name.
- Double click on server certificates.
- On the action panel click on complete certificate request.
- On file name containing the certification… brows to select the server certificate.
- Choose a friendly name with * (wildcard) so they can serve all web sites.
- Right click on the web site that you want to bind the certificate.
- Choose edit binding.
- Click add
- Choose type https.
- Enter host name the same name as the web site.
- Click ok.
Upgrade To Power Shell 3.0 Version
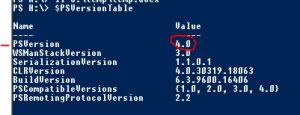
Check which Power Shell version is already installed on the server with command $PSVersionTable
if it is power shell 2.0 then:
- Install Microsoft .NET Framework 4.5
- Install PowerShell 3.0
If it is PowerShell 1.0 than:
- Install Microsoft .NET Framework 3.5 sp1
- Install PowerShell 2.0
- Install Microsoft .NET Framework 4.5
- Install PowerShell 3.0
